This week I am sharing the part of laminate flooring installation that so far, I loath most of all – Prep work.
Hello again! So, the One Room Challenge adventures continue!
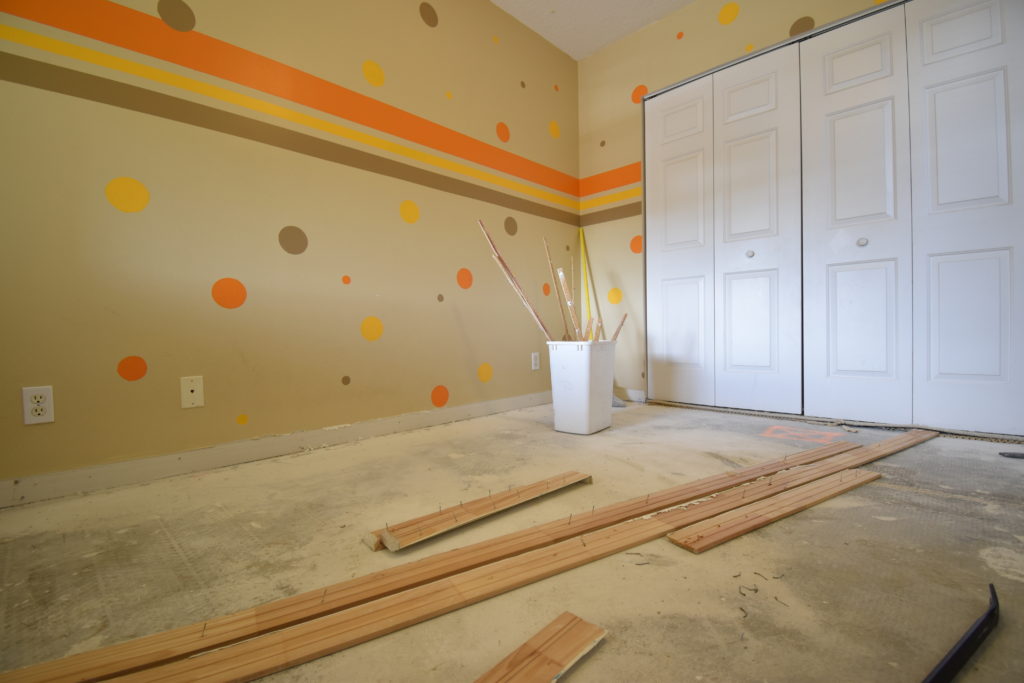
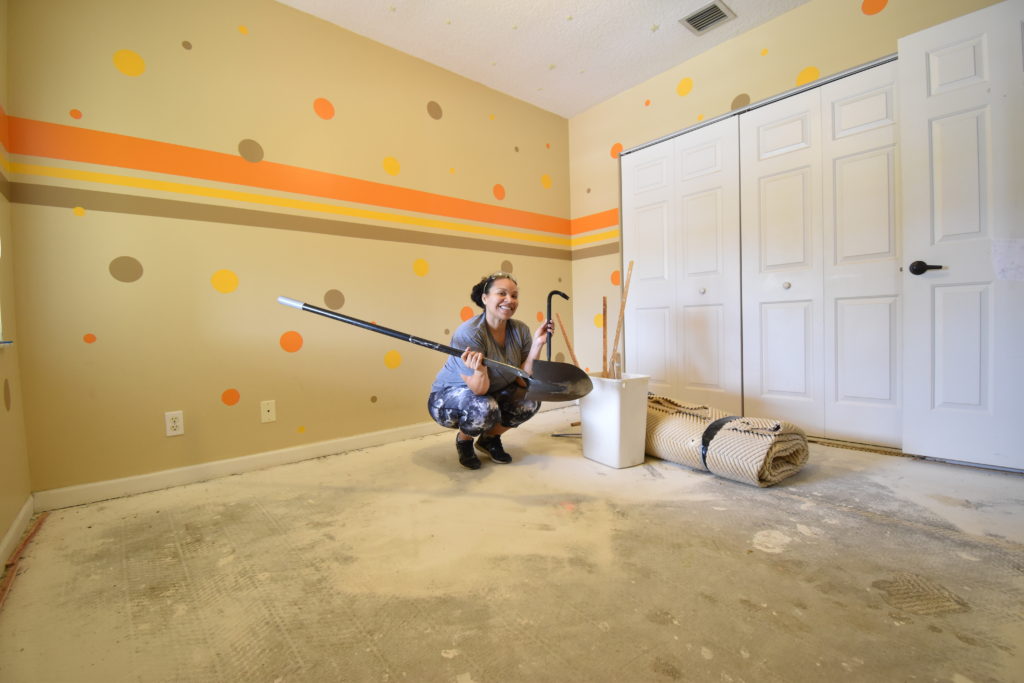
After emptying it out the room, it was time to pull up the carpet to prepare the room/subfloors for laminate floor installation.
This is my First. Time. Ever. installing laminate flooring. I’ve seen tutorials galore, I’ve read, read, and read instructions like a gazillion times. So I felt confident enough to try it. So, here’s me trying it.
Have you ever installed laminate flooring before?
Steps involved – rip up the carpet. To get out of the room in a not-break-your-back-fashion, I broke it up into 3 strips to carry downstairs to hold for bulk trash day. The padding was underneath, this is the grossest part. And this I did not break into 3 pieces, this stuff is flimsy anyways so it tore plenty, but I taped it up and used the muscle (my teenage son) to carry it downstairs.
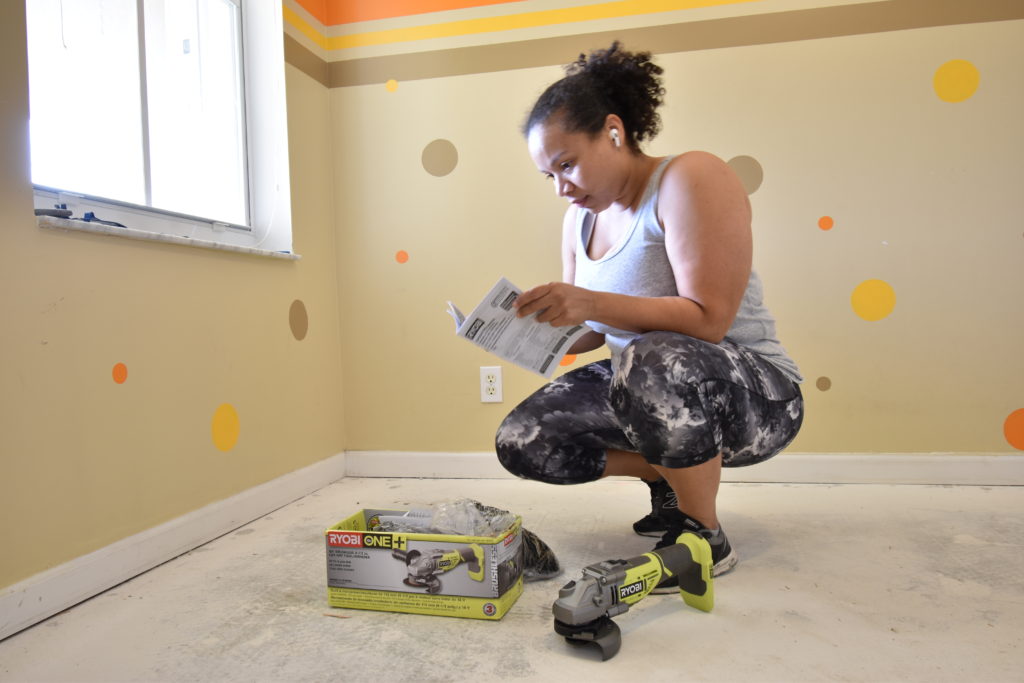
Once the carpet and padding was up, I inspected the subfloor. I expected wood. But it was concrete and it wasn’t in the worst shape – I was thankful for that. Do you want to know what I was not NOT thankful for??? That would be the builders embedding nails in the concrete which I had to grind off so I could lay the underlayment down for the flooring.
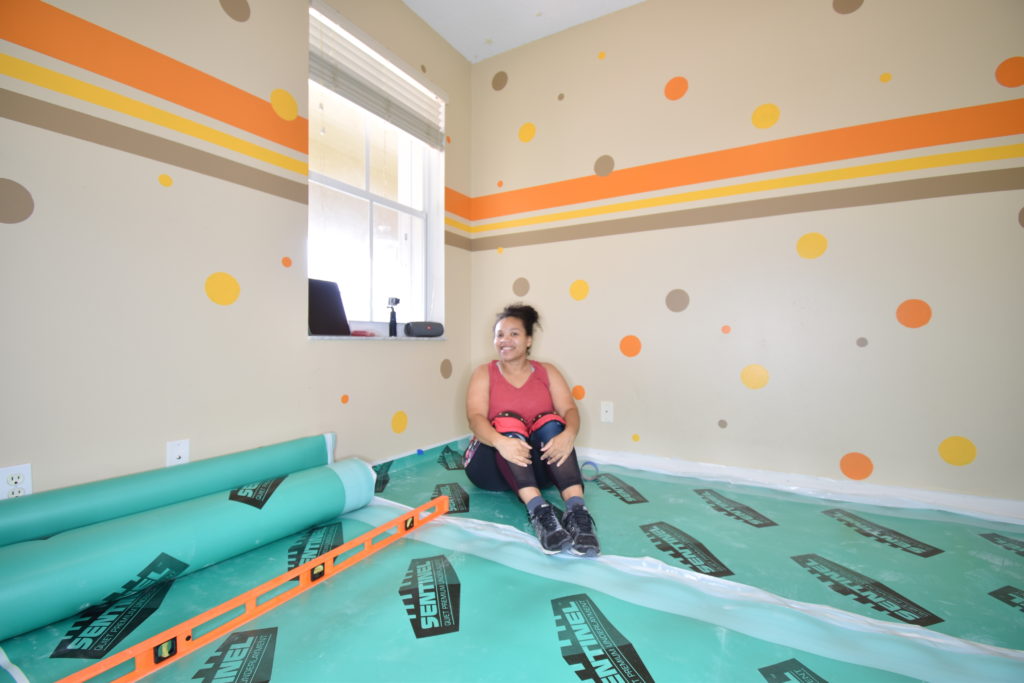
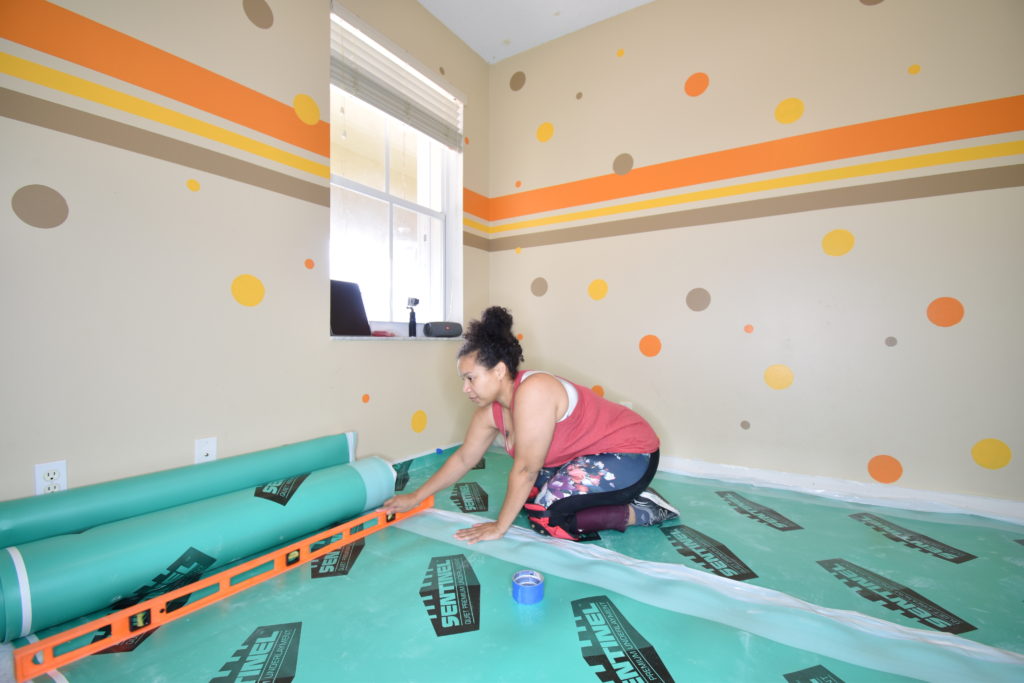
After getting over the terror of using an angle grinder for the first time, I then laid the underlayment. Note to all: lay with tape facing up. I didn’t do that the first time through so I had to pull it up, play musical underlayment and lay it down again. Then it was off to the laminate flooring installation races.
But as a weekend warrior and full time employee and mom, that really has taken me forever. I think I hope to be done with the floors this week. I have to hustle. These have certainly taken me more than anticipated.
Read more about the ONE ROOM CHALLENGE by clicking here. There are a lot of folks working on room transformations, be sure to check them out.

Leave a Reply